Setting up RESA (External Control)
The manual describes the steps to set up RESA External Control on the SmartgridOne Controller.
When setting up this integration, permission is granted to RESA to control the necessary devices.
Supported Devices
| Device Type | Supported |
|---|---|
| Solar Inverters | ✅ |
| Storage Devices | |
| EV Chargers | ❌ |
Caution
RESA RTU requires a RS485 serial port to work. Please check if your SmartgridOne Controller has an available RS485 port before setting up this integration. If not, you can use a RS485-Ethernet Converter or a RS485-USB Converter to connect the RESA RTU to the SmartgridOne Controller.
Caution
As RESA RTU is using a RS485 serial connection, the used RS485 port on the SmartgridOne Controller cannot be used for other devices and connections. Please check if your SmartgridOne Controller has an available RS485 port before setting up this integration.
Prerequisites
1. Add the batteries and inverters
Login to the commissioning interface and make sure the devices are added to the SmartgridOne Controller.
2. Check the grid power limits
In the settings, the grid power limits should be set correctly. Click Settings and check the highlighted setting in the image. If necessary, adjust the settings.
3. Add 'RESA' External Signal
1. Click on 'External Signals' in the top menu and click on the 'Start Wizard' button.

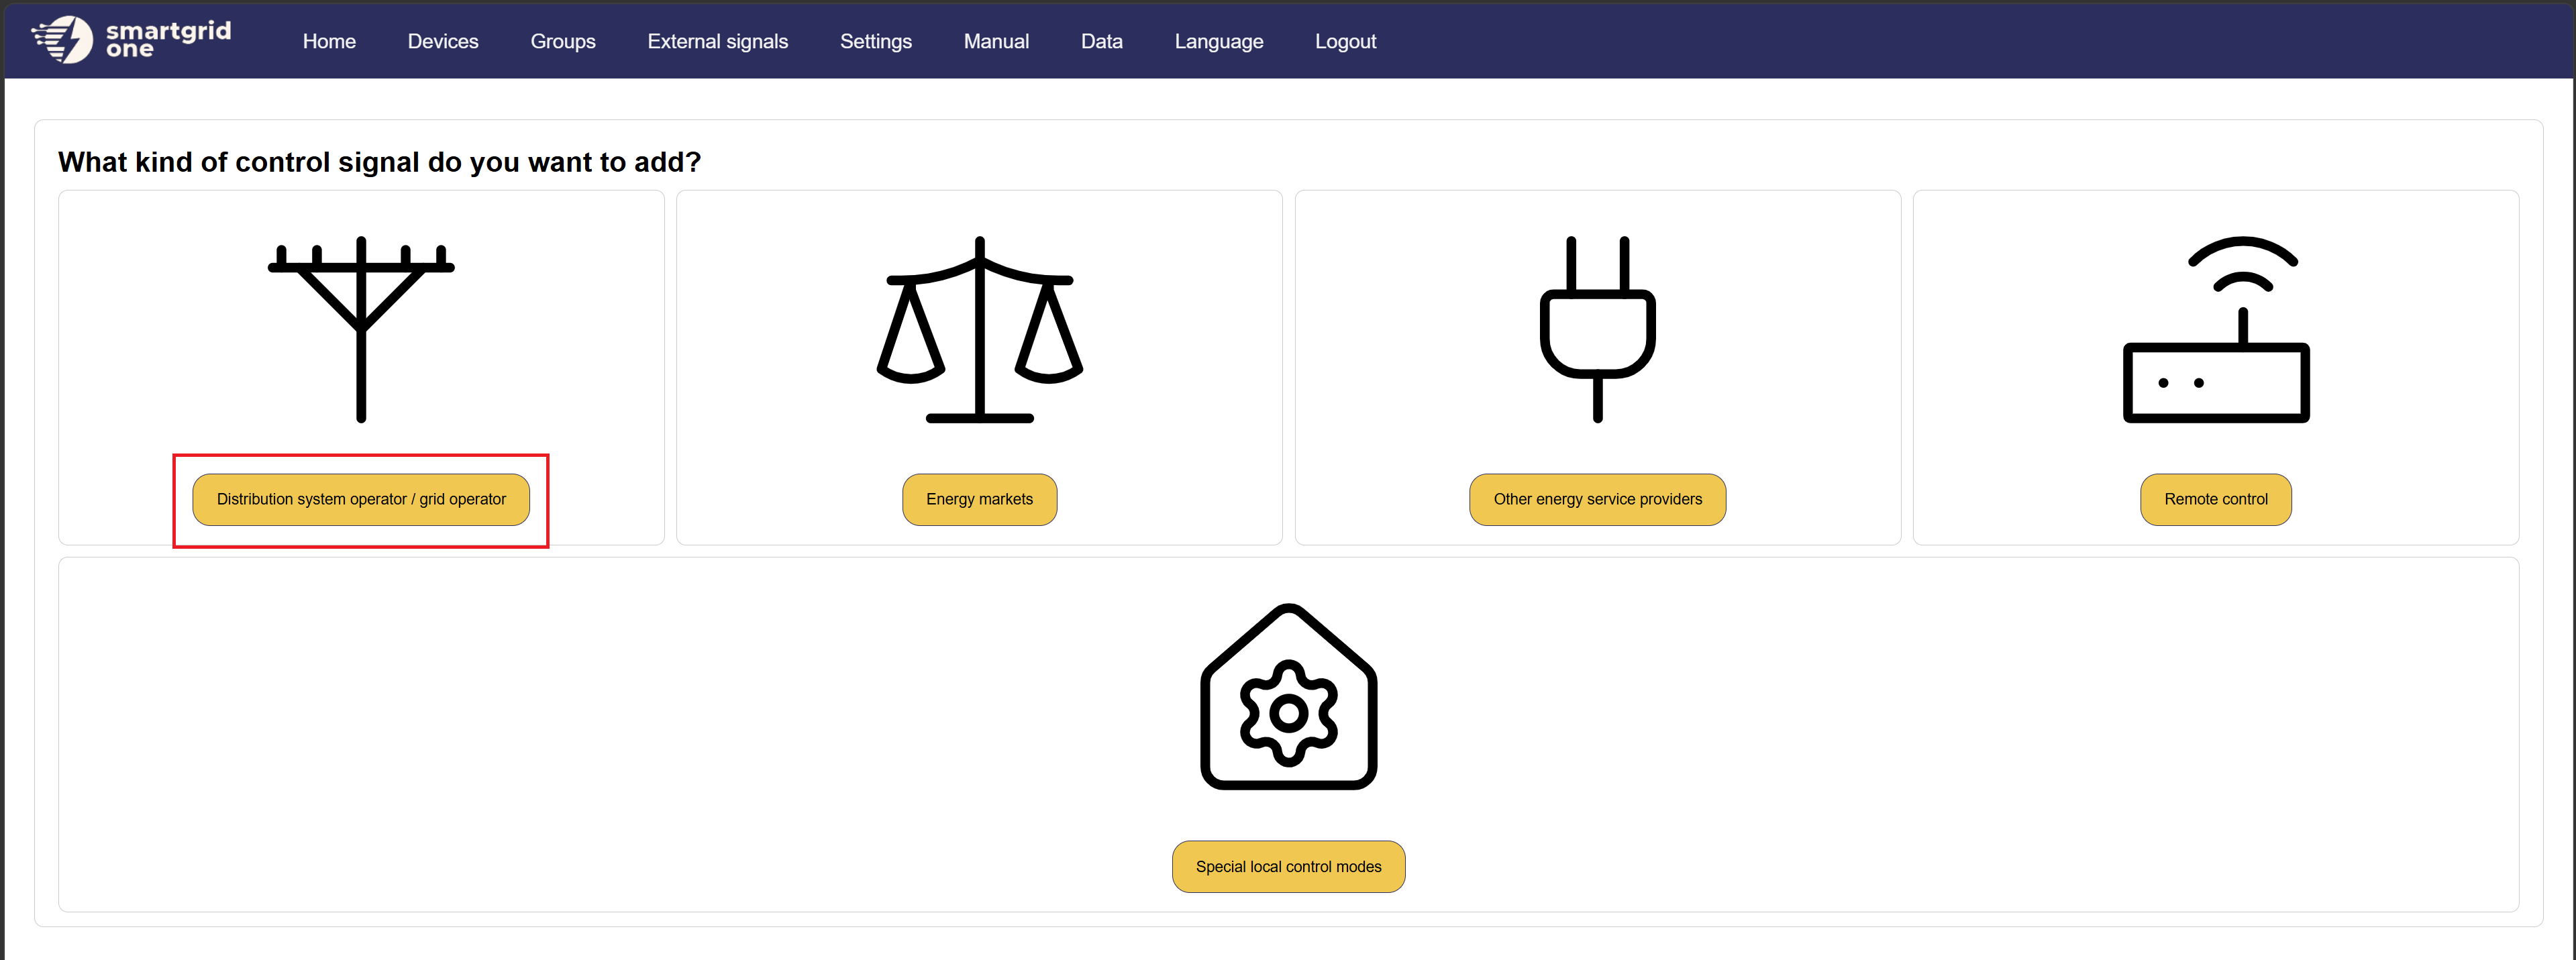
2. Click on the 'Distribution System Operator' button.
3. Click on the 'RESA' button.
4. Select 'RESA RTU Telecontrol' and click 'Next'.
5. Fill in the required information.
- RS485 Interface: Select the RS485 serial port to which the RESA RTU is connected. If using a RS485-Ethernet Converter or a RS485-USB Converter, select the corresponding Ethernet or USB port.
- M1 Energy Type: Select the M1 Energy Type that corresponds to the devices you want to control with RESA. This should be set to 'Battery' if you want to control the storage or 'Solar' if you want to control the solar inverters.
- M2 Power Type: Select the M2 Power Type that corresponds to the devices you want to control with RESA. This should be set to 'Battery' if you want to control the storage or 'Solar' if you want to control the solar inverters. This can also be set to 'N/A' if you only have one type of device.
- Contractual permanent power: Fill in the contractual permanent power (in kW) that is agreed upon with the grid operator. This is used by our EMS to determine the maximum power that can be injected into the grid if we lose connection with RESA.